Showing posts with label Make Your Own. Show all posts

Saturday, June 14, 2014

Recipe To Try - Homemade Refrigerator Pickles

Have y'all seen my garden?  I'm pretty proud of it.

My 8-year-old is hiding back there
Our garden just took off this year.  The cucumbers and tomatoes have just taken over everything.  It took a long time before we got veggies, but they're coming in slowly but surely.

I swear I feel like Indiana Jone scouting out pathways to grab the veggies.  I feel like I need a machete or something - but if I used a machete, I'd cut down all the beautiful young baby veggies that aren't ripe yet.

Since I wasn't a schooled gardener, I thought that I'd be able to actually pickle and can tons and tons of cucumbers all at once, and I'd have jar after jar after jar of delicious pickles that would last us all year - I thought the same thing with the tomatoes.  That just isn't the case with this small of a garden - at least it's not happening that way for me. 

But I digress...since we're only getting a couple of cukes at a time, we came up with this yummy recipe for refrigerator pickles.  It really is delicious and it's super easy.  My girls could eat a whole jar of these in one sitting.

You can even have your little ones help you load the jars up.  What a great learning and fulfilling experience it is to have your kids help you in the kitchen.  You could feel like Mama Of The Year letting them help you.  It's so awesome having your kids help you...until they start fighting about who gets to put what in the jar.  No, it's my turn to put them in the jar.  No, it's my turn.  That's MY pickle.  That pickle is ME.  I GET TO PUT IT IN THE JAR!  IT'S MY TURNNNNNNNNN! 

That's when you scream at the top of your lungs THIS IS SUPPOSED TO BE A HAPPY LEARNING, BONDING EXPERIENCE FOR ALL OF US!!  LOVE AND PEACE AND ALL THAT CRAP!  NOW IT'S COMPLETELY RUINED BY Y'ALL FIGHTING.  And then you just quit for a few minutes and grab you a big ol' glass of Moscato and then all is right with the world.  

What? 

You know that happens in your kitchen too, right?

I'm not, like, a lone wolf in this situation, right?  Right?  I'm right, right?  Please tell me I'm right!!


But I digress again...here's the fabulous pickle recipe. The pickles really are awesome, no matter how much drama you have to put up with while making them!


Homemade Refrigerator Pickles

2 cucumbers - sliced
2 garlic cloves - sliced
1 very, very, very small onion - sliced (I use ones picked from my garden which are about the size of a big gumball)
1 tablespoon of kosher salt - plus a little more
ground pepper - however many shakes you want
fresh dill
vinegar
quart mason jar

Slice everything up.  Put a sprig or two of dill in the bottom of jar.  Then add couple of slices of onion and couple of slices of garlic.  Add a couple handfuls of cucumbers.  Keep going like that until the jar is full - dill, onion, garlic, cukes until you use everything up.  

Next fill the jar about 1/4 to 1/3 full of vinegar.  I put the salt in next and the pepper.  I use about a tablespoon of salt plus a few more shakes.  I also put quite a bit of ground pepper in.  Then fill the jar the rest of the way up with water.  

Put lid on.  Give it a good shake, shake, shake - let your kids shake, shake, shake the jar - then put the jar in the refrigerator.  

24 hours later, you'll have delicious pickles and your kids will be fighting over who gets the last dang pickle. And you'll be saying to yourself, Summer, I love you, but I'm kind of over you right now!


What?  I know they're cute!  They're also a tad ornery.  And they could quite possibly be one of the reasons why mama drinks a little...okay a lot a little... or a little a lot - either way works.
Pin It!

Thursday, September 27, 2012

Display Kid's Artwork


I saw this idea on Pinterest over a year ago.  And since at that time we were redoing our dining room/entry/hallway/whateverthatroomiscalled room, I thought this would look super cute. 

You just take a 1 by something or other and cut it to whatever size you want.  My husband routered the edges and then painted them black.  I took some sandpaper and roughed up the edges a bit to give them some character.  Find you some of those little metal clips.  We could only find some that had magnets in them.  My husband had to drill them out so we could screw them to the board.  Then he just screwed the boards to the wall.

We ordered the word Masterpieces from a vinyl lettering company - I wish I could remember where I ordered it from, but since it's been almost a year, I've forgotten.


I think it turned out great.  My kids are so proud to see their masterpieces hanging on the wall. 


Pin It!

Monday, June 25, 2012

Patriotic Wreath


I saw this gorgeous wreath on Pinterest a while back and I just had to make it.  It was super easy to make and cheap too.  The most expensive thing was the foam wreath and I think that cost me $5.99.  You could probably find one a lot cheaper than that and use a coupon at Joann's or Michael's or Hobby Lobby.

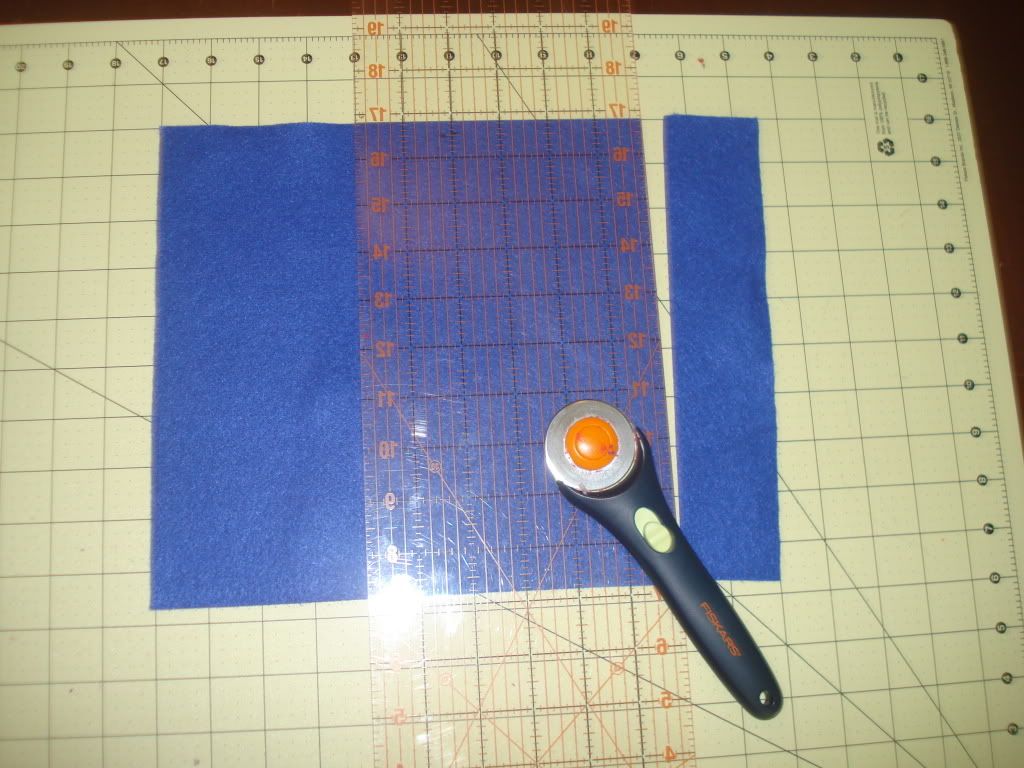
I suggest you cut all the felt pieces out with one of those rotary cutters.  I started cutting the felt like this - each strip individually then turning and cutting the strips:


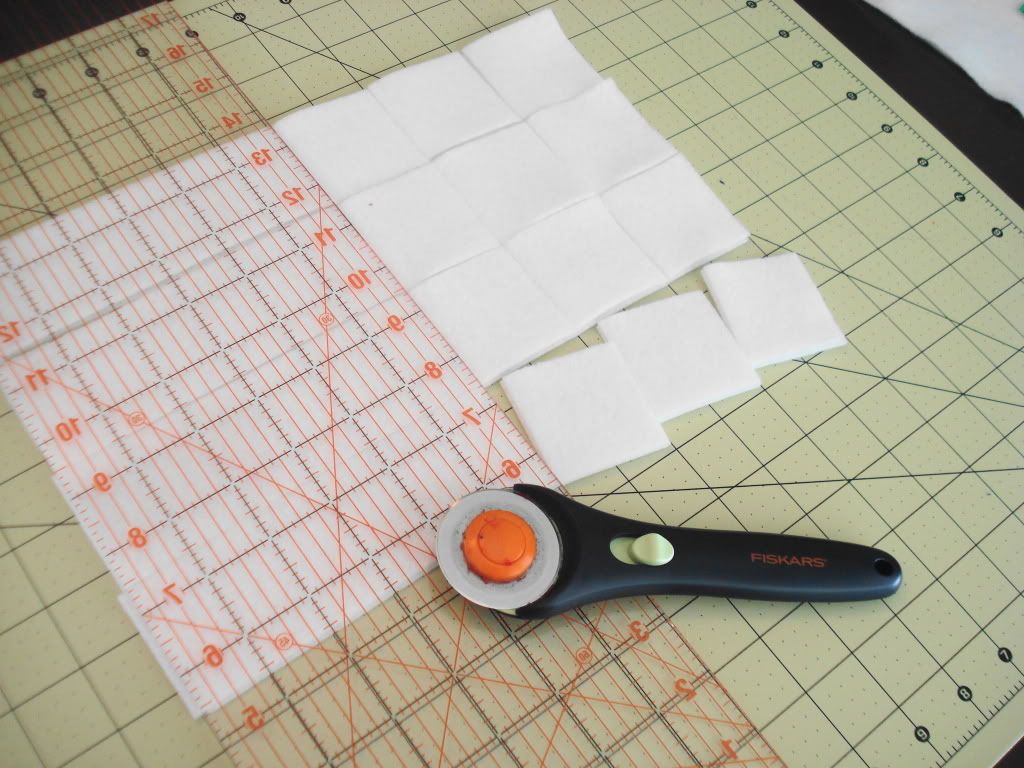
That took a while.  So I wised up and starting cutting them like this:


Which made it go a lot faster - hello!

My only suggestion would be to mark your foam wreath as to where you want the red, the white, and the blue.  I wanted my blue to butt up to white, so I had to do some finagling at the end to make it come out that way.  If I had marked the wreath beforehand, it would have been a lot easier. 

Also, the instructions said to use cardstock and punch out stars using a punch.  This homegirl does not have a star punch, so I just decided to use some of the white felt to represent the star.

Turned out pretty, don't you think?  God bless America.
Pin It!

Thursday, June 21, 2012

Fun For The Kids - Make Your Own Butter


I read about this a while back over at one of my favorite websites, Christy Jordan's Southern Plate.  I thought this activity would be a good idea to keep those little hands busy for at least 20 minutes, and it did.  Plus you get a bonus in the end, good ol' delicious butter!

Here's a link to the recipe on Southern Plate.

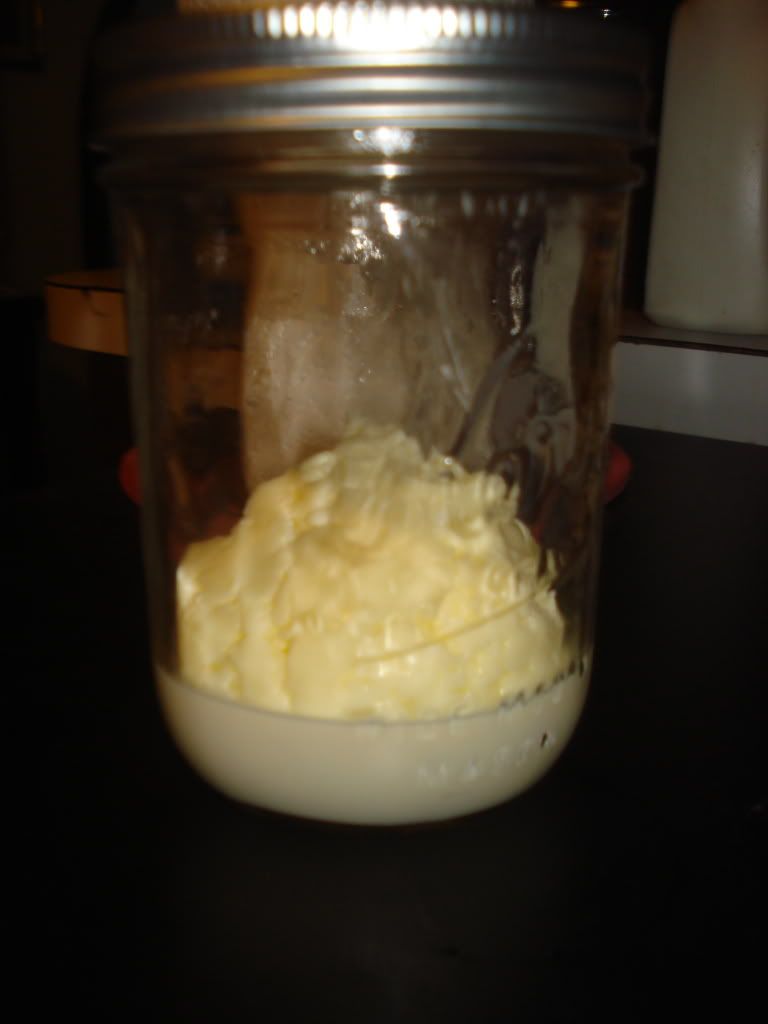
I used a pint Mason jar.  Fill it about half full with heavy whipping cream.  Put lid on the jar.  Let the kids start shaking.  After about 15 to 20 minutes or less you'll have something that looks kind of like this:


The liquid in the jar will gradually start to thicken, and then just when you think you can't shake it anymore and you think there's no liquid left, the contents will start pulling away from the sides and you'll be able to see inside the jar and you'll see something that looks like what's pictured above - a ball of butter sitting in white liquid.

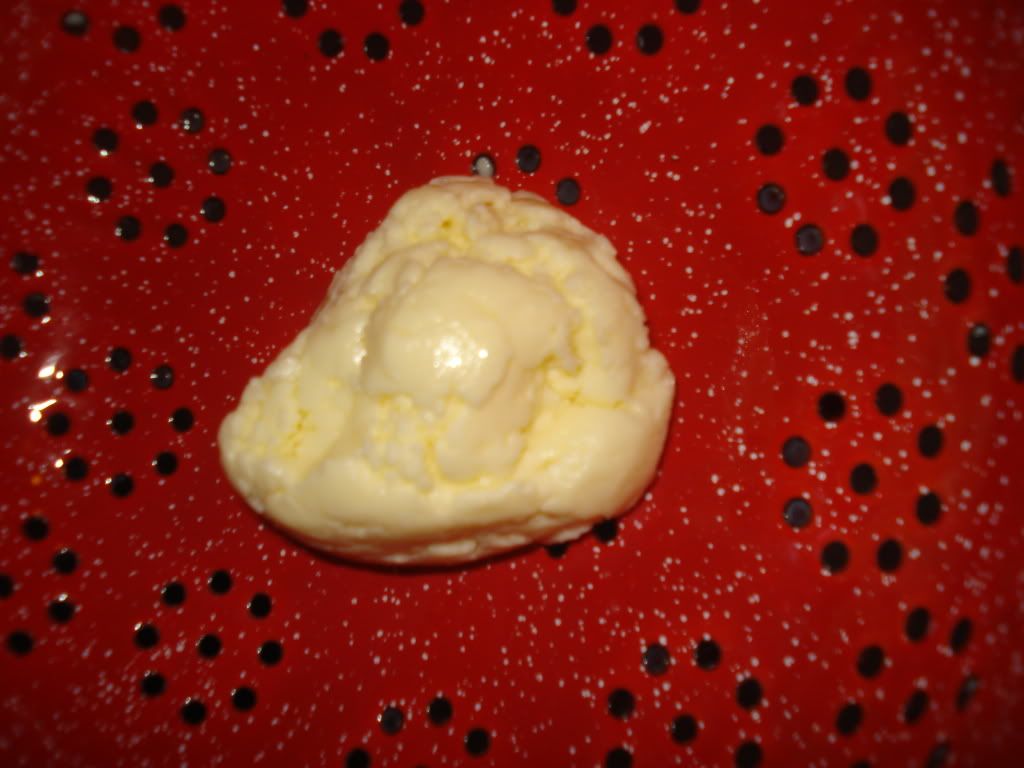
Next, pour contents of jar into colander and strain.


I put the butter in a small glass dish and then added just a tiny bit of salt.  You'll want to be very careful about how much salt you add - believe me, I speak from experience.  The first time we made this, we put way, way, way too much salt.  This time we just put a couple of small shakes of salt and it turned out perfect.

Next time you're at the store, pick up some heavy whipping cream and have your kiddos make this.  Spread the finished product on some bread and watch your little one's chest stick out with pride.  It's a win-win for everybody!
Pin It!

Wednesday, June 13, 2012

Make Your Own Hummingbird Nectar


Mix 1/4 cup sugar to one cup warm water.

I have to fill this hummingbird feeder up at least once a week.  They love it!
Pin It!

Tuesday, June 12, 2012

Free Family Fun - Lowe's Build & Grow


I'd heard about Lowe's Build & Grow a while back but I never signed my kids up because, after all, they're girls and all, and little girly girls don't like swinging hammers or building things, y'all...yeah, right!  


My girls loved it.  I'm so glad I signed them up to do this.
 

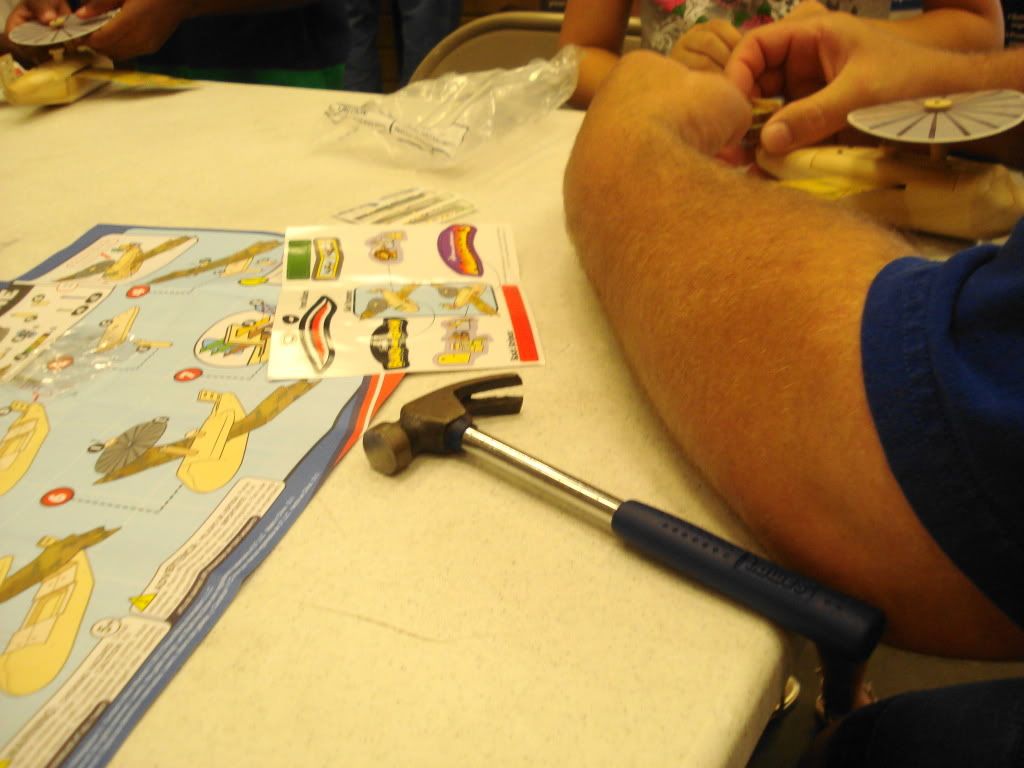
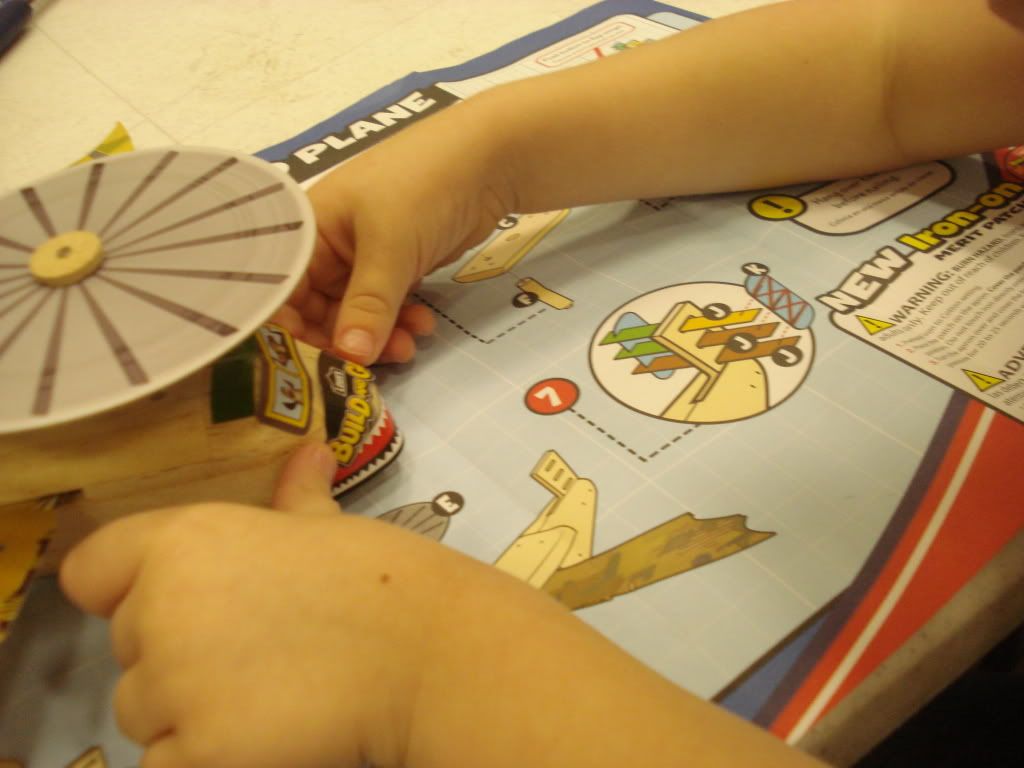
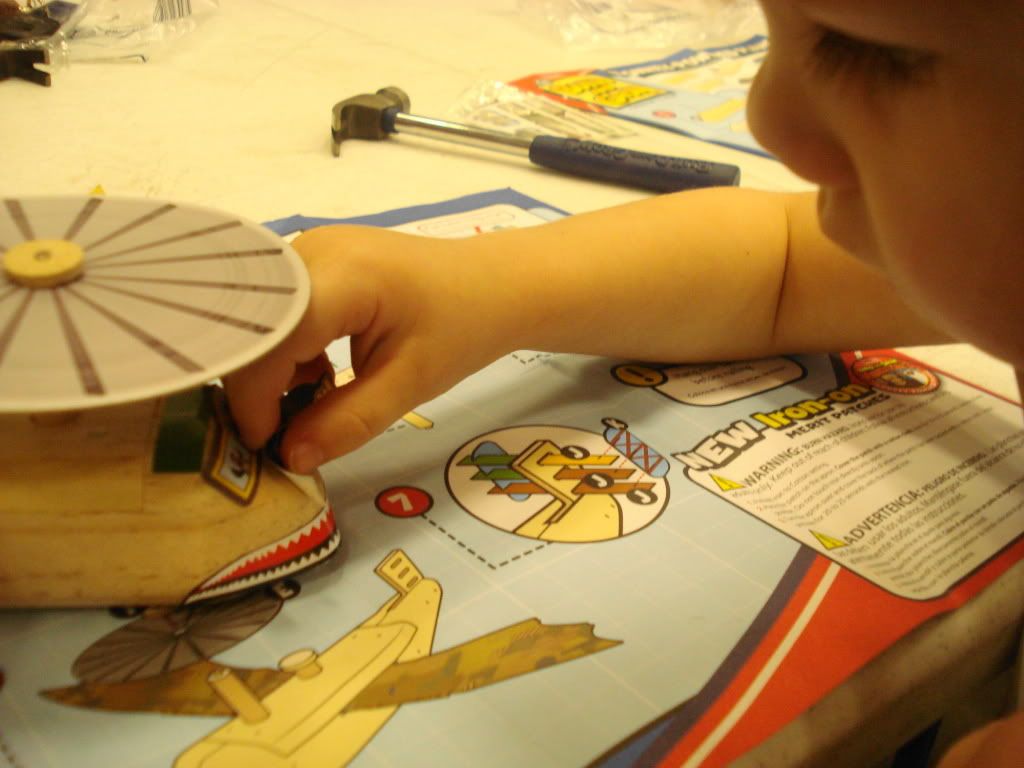
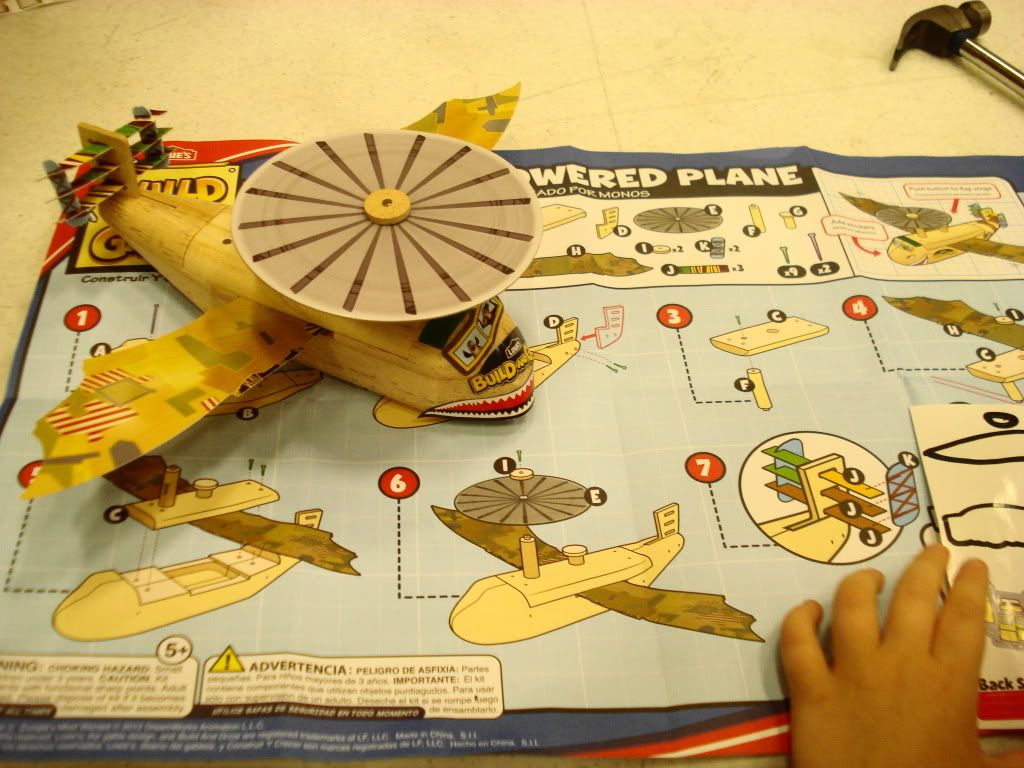
Lowe's offers this free, family fun activity every other weekend.  Last Sunday my girls made the Madagascar Monkey Plane.  


Isn't it cute?

It's easy to register for one of the projects.  Just click this link and click on register.  Click the project you want them to do, click the store you want to go to and then register your kiddos.  You'll have to enter your email address, but I've never received any spam or emails from Lowe's other than the confirmation email.  You'll have to print a waiver out and sign it and bring it with you.


Thank you, Lowe's, for offering this free, family fun activity!


Pin It!

Saturday, June 9, 2012

Things That Should Be In Your 72-Hour Kit or Bug-Out Bag

I am, like, obsessed with this blog I found recently.  It offers so much useful information that I could sit and read it for hours. It's called Homestead Survival. 

One of their recent posts is about 72-Hour Kits or bug-out bags.  If you've watched any of the Doomsday Prepper shows, you'll know what they're talking about.  I think it's better to be safe than sorry, whether it's for doomsday or a natural disaster.

One day there was a fire burning really close to our house, and I was so worried that it was going to reach our house that I just started throwing anything and everything in my car.  It would have been much easier to just have all the important, necessary stuff in one spot instead of me running all over the house gathering stuff like a chicken with my head cut off.

Here's a list of that important, necessary stuff.  Each member of your family should have their own kit.


Thanks, Homestead Survival, for all the awesome information you provide.  Keep up the good work.

Pin It!

Wednesday, June 6, 2012

Comeback Shane Sauce

Comeback Shane Sauce


I've seen a ton of recipes for Comeback Sauce or Raising Cane's dipping sauce.  This is the closest I've come to Raising Cane's.  It's delicious and I could eat it up with a spoon all by its lonesome.

I call this Comeback Shane Sauce because every time I hear the word comeback, I think of that old western Shane, where that little boy is yelling come back, Shane!  Shane, come back!  That's just how my silly mind works!

I found this recipe at this link.  There is no picture of it, so I couldn't Pin It and Lord knows I'm addicted to pinning stuff, so that's one of the reasons why I'm posting this...so I could pin my horrible pictures of it on Pinterest and I won't have to search through my millions of bookmarks to find that one about the daggum Raising Cane's sauce.  So there you go - I did the work for you.  You're welcome! 

Comeback Shane Sauce
1/2 cup mayonnaise
1/4 cup ketchup
1/2 teaspoon garlic powder
1/4 teaspoon Worcestershire sauce
ground black pepper to taste


If you're a fan of Keith Whitley (RIP) which I am a huge fan, you could call this Comeback Kid Sauce. A little Keith Whitley for your listening pleasure:
Pin It!

Friday, June 1, 2012

How-To: Stroller Handle Extensions


Does your back hurt after strolling baby around? I know mine does and so does my husband's. It almost makes a family outing miserable because we dread how our backs will feel after pushing our daughter around in her umbrella stroller.

Well, here's a solution we might try. It involves taking handles off another similar stroller, so be on the lookout for one at a yard sale.

Instructables: Stroller Handle Extensions
Pin It!

Thursday, May 10, 2012

You Want How Much For That Mother's Day Card?

I was grocery shopping yesterday and I decided to look at Mother's Day cards.  I needed to buy one for my mom and my mother-in-law.  After searching what seemed like a hundred years, I finally found the perfect one for my mother.  It was just a plain 'ol Hallmark card.  It didn't have any 3d special effects - it didn't sing at you when you opened it - it didn't have anything attached to it.  It was just a plain, old card.

I put it in my buggy and decided I better flip it over to see how much it was.  When I saw the price I almost fell the heck out right there on the floor.  I said, I'm coming, Lizabeth.  Lawd, help me.  Does Hallmark think I'm some kind of fish-eyed fool?  Do you know how much that dang card cost????  $5.59!!!! 

So, Mom and MIL, y'all are getting some homemade cards from us this year.  I think those are more meaningful.  They are to me!

So save some money and make your own cards.  And if you really want to make your mamas happy, you can buy them some of this instead - it's delish!! 


Wimberley Valley Sweet Red - Good 'ol Texas Wine

You can all gather round with a glass of this sweet Texas wine and propose a toast to Hallmark this Mother's Day.  What you propose is up to you. 

HAPPY MOTHER'S DAY, Y'ALL!!!
Pin It!

Tuesday, May 8, 2012

Teacher Appreciation Gift

So this was my attempt at a teacher appreciation gift.  I had the best of intentions - I really did.  Here goes:

I found this saying here about teachers planting seeds.  There was no printable so I had to figure out how to do that myself.  You can copy it if you want since it's so fabulous - ha ha!  Here's what I came up with:

Next I put some seeds in a ziplock baggie and stapled that to another piece of paper I printed out about what kind of plant it was.  I just copied the information from Burpee and tried to make it look prettier.

 Then I took some double-sided tape and taped the two pieces of paper together.

Next, my daughter painted this pot.
I wrote a little note to my daughter's teacher (using my daughter's words) on the water-catcher dealybopper.
Names have been covered up to protect the innocent

 I took the plant that was grown from some of these very seeds and potted half of the plant into this pot.  Then I poked some holes in the papers I taped together and stuck some jute twine through it and tied all that to the pot.  I had to put a few dabs of hot glue on the twine to keep it from slipping.

Wouldn't it be simply grand if I had a picture of the final product?  That would be awesome, right?  Well, just imagine it looked something like this only less toddlerlike:
A certain ding-ding forgot to take a picture of the final product.

Wouldn't it be all cherries and roses if that was the end of the story?  Ahh, but it's not.  Enter this chick:  

This chick who totally had a cat party all up in that plant last night and destroyed it and made it look like this:

So thank the Lord up above that I originally only potted half that plant and there was another half still left on the porch.  I repotted it this morning before my sunshine left for school - that way she won't be giving her teacher something that looked worse than that Charlie Brown Christmas tree Sam the cat left us with this morning. Yay, me!
Pin It!

Tuesday, April 24, 2012

Homemade Fabric Softener - Don't Knock It Until You've Tried It

Homemade Fabric Softener


Since my husband is on strike for Lord only knows how long and I stay at home with our kids, I'm trying to think of every possible way to scrimp and save.  Well, I saw a link on Pinterest the other day about how to make your own fabric softener, and lo and behold I ran out of fabric softener this weekend.  I figured why don't I give that homemade fabric softener a try.

All you need to make it is hot water, vinegar and cheap hair conditioner.   The recipe calls for 6 cups hot water, 3 cups vinegar and 2 cups hair conditioner.  Well, the conditioner that's depicted in the picture (15 oz.) doesn't measure two cups, so I adjusted the recipe.  Here's my recipe for Homemade Fabric Softener:

About 3 cups hot water (more or less) - I just used hot tap water
15 oz. bottle of hair conditioner
About 1 1/2 cups vinegar (more or less)

Mix hot water with hair conditioner then add vinegar.  Pour into old fabric softener bottle or whatever clean jug you have on hand.  Mine just barely fit into my old 51 oz. Downy bottle.

Downy is about, what, $5 a bottle or more?  I paid .99 cents for the conditioner and I paid about $2 for a huge jug (1 gallon) of Kroger brand vinegar that only used up 3 cups so I have 13 cups remaining.  So I figured I spent a little over a dollar for my fabric softener.  Cool thing about this is you don't have to use the same fragrance of conditioner every time - you can switch it up.

Now, I don't consider myself to be a supermom.  I don't, like, sew all my kids clothes out of all natural fibers.  My kids don't eat vegetables or fruit at every meal.  I don't make my own bread or hug trees or anything like that.  But since we're having to tighten our belts a bit during this strike, I figured I'd give this homemade recipe a try and I'm so glad I did.

Pin It!
Related Posts Plugin for WordPress, Blogger...
Web Analytics